
Top 5 Wood Floor Installation Mistakes to Avoid
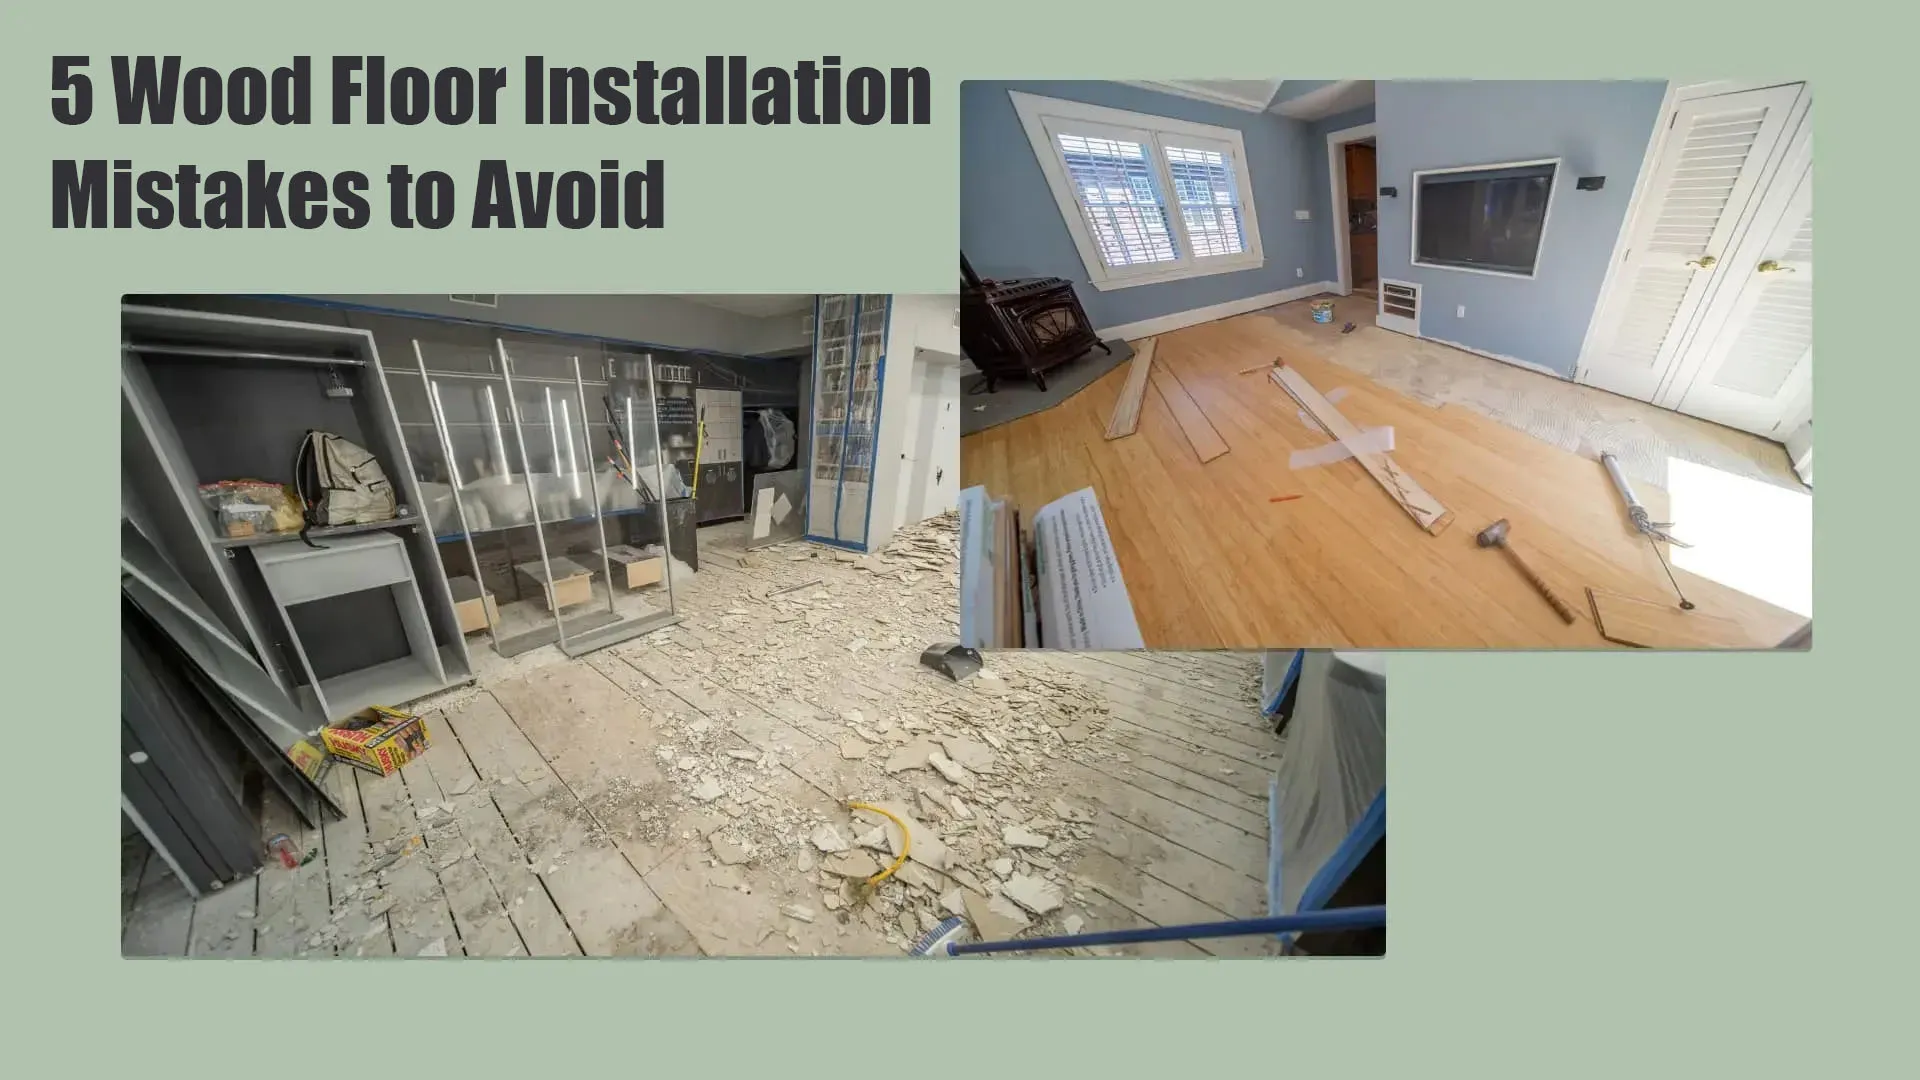
Last spring I walked into a newly remodeled home in suburban Chicago. The living room looked stunning at first glance. Expensive white oak planks stretched across the entire wood floor installation. But as I walked toward the center, I felt a strange spring in my step. The floor moved under my boots. Within two months, those gorgeous planks began crowned up like small mountain ridges. The homeowner was crying.
She spent over eight thousand dollars on materials and labor. Yet the whole floor was ruined. What happened there? A contractor rushed to work and skipped subfloor moisture testing. Disasters like this happen every single day. Bad wood floor installation ruins expensive timber fast. It wastes time, causes stress, and drains your wallet. Let us look at the top five blunders so you can protect your investment.
Mistake 1: Skipping Wood Acclimation and Moisture Checks
Hardwood is a natural organic material. It absorbs ambient moisture and expands in humid weather. It shrinks during dry winter months. Many inexperienced DIYers drop off fresh wood boxes at a job site. They start laying planks immediately. That is a massive error. Wood needs time to settle in its new environment.
Stack timber boxes flat in the room where you plan to install them. Open the ends of the boxes. Let air circulate freely for four to seven days. Experienced workers strictly follow National Wood Flooring Association guidelines to verify relative humidity and moisture levels before starting.
How Unchecked Moisture Ruins Your Planks
Installers must use a digital pinless moisture meter. They measure both timber planks and subfloor material. The moisture difference between subfloor and solid strip wood should not exceed four percent. For wide planks, that gap must stay under two percent. Ignoring this check leads to cupping, warping, and severe board crowning.
Mistake 2: Ignoring Subfloor Preparation and Leveling
You cannot build a sturdy house on a shaky foundation. The same rule applies to timber floors. A subfloor must meet three core standards before any wood touches it. It must be completely clean, flat, and structurally sound. Skipping proper prep work guarantees squeaky floors later.
Installers often leave old drywall dust, paint drips, or carpet staples behind. These small particles create uneven spots. Run a long ten-foot metal straightedge across the room. High spots need grinding down on concrete or sanding on plywood. Low spots require self leveling underlayment compound. A flat surface prevents hollow sounds when you step on planks.
Pro Field Warning: Never install new timber over a rotting or squeaking subfloor. Fasten loose subfloor panels with ring shank nails or construction screws first. A noisy subfloor will always create a noisy finished floor.
Forgetting the Moisture Barrier Underlayment
Moisture rising from crawlspaces or concrete slabs ruins wood from underneath. Over concrete, installers must lay a six-mil polyethylene vapor barrier or liquid epoxy membrane. Over wooden subfloors, use asphalt saturated felt paper or silicone vapor shield. Seal all overlapping seams tightly with specialized tape.
Mistake 3: Forgetting Expansion Gaps Around Room Edges
Wood expands sideways and lengthways during seasonal climate shifts. It needs space to move. A common flaw during Installation of Wooden Floor happens when workers push planks tightly against drywall, door frames, or stone hearths. When summer humidity arrives, expanding boards have nowhere to go.
They push against each other with immense pressure. The center of the room buckles upward. Planks literally pop off the subfloor. You must leave a three-quarter inch expansion gap along all walls and fixed obstacles. Use wooden spacers during fitting to preserve this gap. Baseboards and shoe moldings will cover it later.
Mistake 4: Poor Board Staggering and Layout Alignment
Laying timber planks is an art as well as a technical process. Poor board placement creates visual eyesores and weakens structural integrity. Beginners often make errors of lining up end joints in adjacent rows. This creates H joints or step ladder patterns across the room.
Professional installers rack the floor first. They lay out several unfastened rows to mix dark and light planks from different boxes. This blends natural grain variations smoothly. Always maintain at least six inches of distance between end joints in adjacent rows. This technique secures structural lock and looks pleasing to the eye. National Wood Flooring Association (NWFA) Guidelines, avoiding these top five wood floor installation mistakes ensures a stable, long-lasting surface.
Misaligning the Initial Baseline
Most rooms in modern houses do not have perfectly square corners. If you align your first row against a crooked wall, every single row follows that curve. Measure out from the main wall at both ends. Snap a straight chalk line across the subfloor. Lock your first row along this line to ensure straight rows across the whole space.
Mistake 5: Using Incorrect Fasteners and Adhesives
Using wrong tools or cheap supplies ruins an otherwise solid effort. Some people attempt to nail down hardwood with standard smooth finish nails. Standard nails loosen over time as wood expands. The boards start squeaking every time someone walks by.
Use a pneumatic floor nailer loaded with proper cleats or staples. Set the air pressure correctly so fasteners penetrate the tongue at a forty-five-degree angle without splitting the wood. For glue down setups over concrete, use premium elastomeric polyurethane adhesive. Cheap adhesives dry out, crack, and lose grip after a few years.
Finishing Touches and Transition Moldings
The final rows near the far wall require face nailing because heavy floor nailers do not fit in tight spaces. Countersink these nail heads and fill them with matching wood putty. Install T moldings at doorways and reducers at tile borders. You can visit our dedicated Wood Floor Installation Service page to see how our crew handles complex layouts and seamless finishes.
How to Ensure a Flawless Floor Installation
Avoiding these five common traps makes the difference between a ruined investment and a lifelong masterpiece. Take your time during subfloor preparation. Test for moisture thoroughly. Keep your expansion gaps open and stagger your joints carefully. When you follow proven field techniques, your hardwood floor remains quiet, flat, and beautiful for decades.

As a dedicated flooring and home remodeling specialist at MP Hardwood Flooring, I am passionate about transforming spaces with high-quality craftsmanship, durable materials, and timeless design. Through my articles and project guides, I share expert tips on hardwood installation, floor refinishing, and interior maintenance to help homeowners make the best choices for their dream living spaces.